
Figma for beginners: a practical starter guide for product teams
New to Figma? This guide walks you through the essentials — frames, auto-layout, components and dev mode — with the exact shortcuts our design reviewers actually use every day.
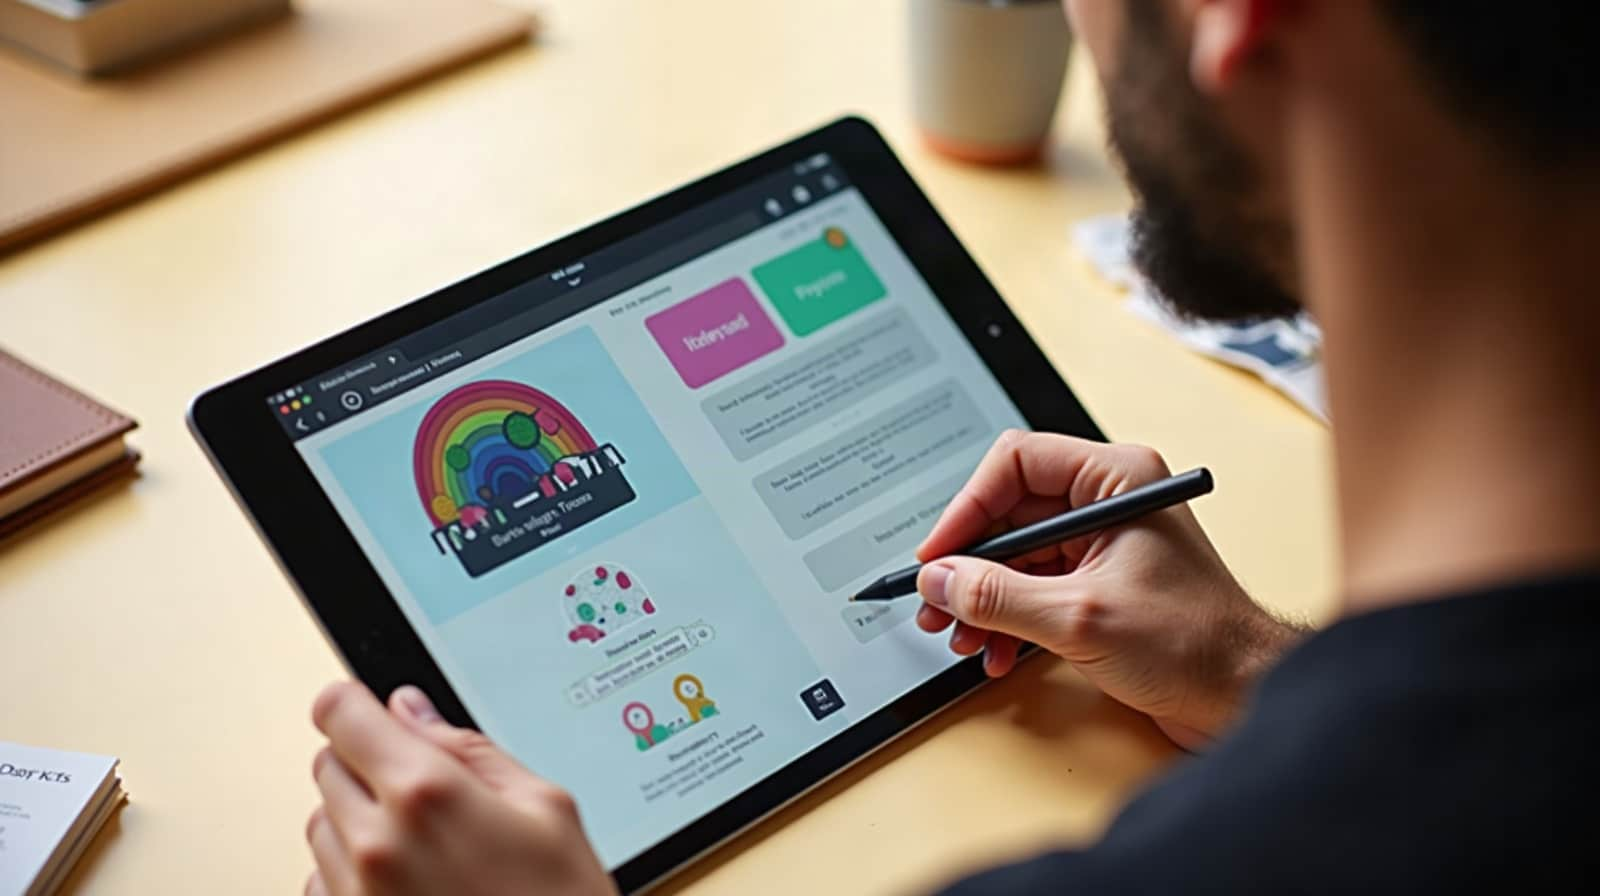
- Learn frames, auto-layout and components first — everything else builds on them.
- Auto-layout replaces almost all manual spacing once you trust it.
- Components and variables are what make a file scale beyond one screen.
- Dev mode closes the gap between design and the people who build it.
Figma is now the default tool for most product teams, which makes it worth learning properly. The good news is that you only need a small set of ideas to build almost anything.
This guide walks through the essentials in the order we teach them, using the same shortcuts and habits our design reviewers rely on daily.
1. Start with frames, not pages
A frame is a container that behaves like a screen or a component boundary. Almost everything in Figma starts with one, so building the habit early saves you from a tangled file later.
Essential shortcuts
- F — draw a frame
- R — draw a rectangle
- T — add text
- K — scale an element proportionally
- Ctrl or Cmd + D — duplicate
- Alt or Option + drag — quick copy
2. Master auto-layout
Auto-layout is the single feature that separates a beginner file from a professional one. It makes containers respond to their contents instead of the other way around.
- Shift + A wraps a selection in auto-layout.
- Set direction, spacing and padding in the right-hand panel.
- Use 'hug contents' for elements that should size themselves.
- Nest auto-layout inside auto-layout for real, responsive layouts.
"If you learn one thing in Figma this month, make it auto-layout. It changes how you think about every screen you build."
Julia Roth, Design Reviewer3. Build components early
A component is a master element you reuse. Change the master and every instance updates. This is what keeps a growing file consistent instead of slowly diverging.
A sensible component workflow
- Start from features, never colours, when defining a component.
- Add variants for size, state and theme.
- Use variables for colour and spacing so themes can be switched.
- Name components clearly — your future self will thank you.
Drawing every screen from scratch. It feels faster for the first page and becomes painfully slow by the fifth. Build the component once, then assemble screens from parts.
4. Use dev mode to hand off cleanly
Dev mode lets engineers inspect spacing, read design tokens and copy code without guessing. The clearer your structure, the less back-and-forth your team will need.
5. A practice path that works
Rebuild one screen you already know well — a sign-up form or a settings page. Keep it to one frame, use auto-layout throughout and turn the button into a component. Repeat with three screens and you will be genuinely comfortable.
Tutorial guide. Shortcuts and features were verified against the current Figma desktop app in August 2026, and all recommendations come from hands-on team workshops.
Frequently asked questions
How long does it take to learn Figma?
What should I learn first in Figma?
Is auto-layout really necessary?
Do I need to know code to use Figma?
Sources and further reading



The best merchant reviews, every Friday.
Top-rated merchants, deep-dive reviews and hand-picked deals — straight to your inbox. No spam, unsubscribe anytime.